My own keyboard “INSS40” right part design complete!
This is English version of 完全自作キーボード「INSS40」ケースデザイン完成♪ あと冬コミ宣伝. Please be patient with my poor English… But I think loving mech-key is beyond language!
This post is written for Jisaku(DIY)-Keyboard Advent Calendar 2017, Day 5. It’s first time to write for Advent Calendar. Pleased to meet you!

In romly.com, I’m writing articles about MechKeys including DIY, 3D printing, devices, gadgets. Sometimes Gaming, Movies, etcetera. Usually I post with many photos so you can enjoy even if you don’t understand Japanese. Please visit if you have time.
Before the main topic, let me announce what we are going to bring to next Comic Market (Comiket) C93.
Winter Comiket C93: Cherry MX Keychain
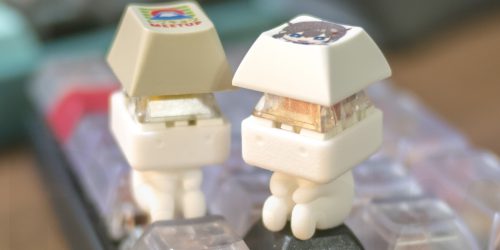
We’re going to distribute Cherry MX keychains at winter Comiket, C93. Which I made through series of posts “Trying to build Cherry MX Keychain“, with Shigure(時雨) DSA keycaps. Thank you Tamamochi-ya, Kan-colle Shigure doujin circle.
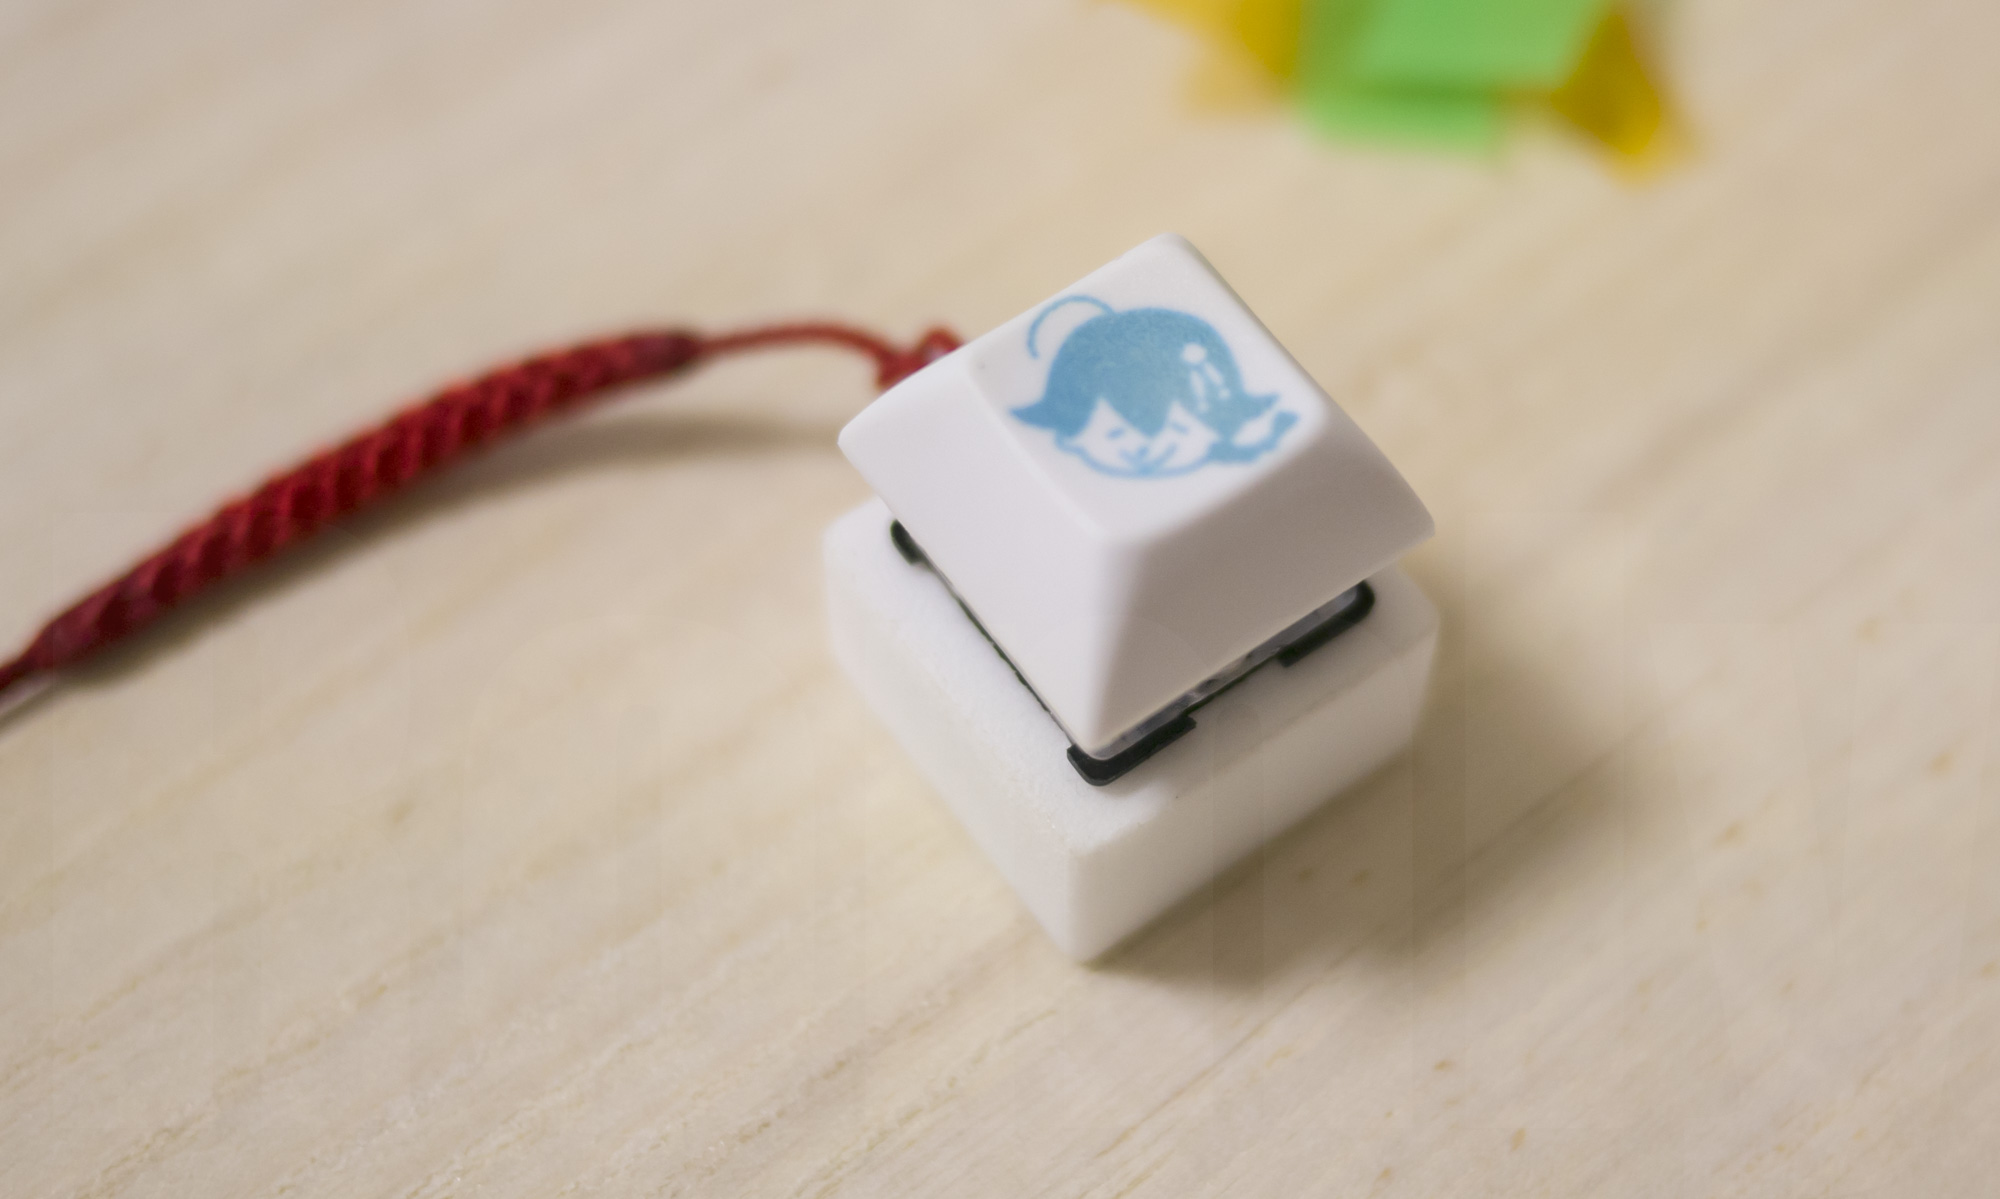
These are so cute Shigure stuff. On the keytop, very cute Shigure illustration by Tamamochiko.
Suitable not only for Mech-key lovers but also for Shigure-fans!
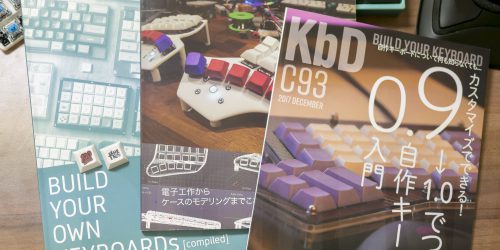
Additionally, it will come with a small booklet which helps understanding how mechanical-keyboards are wonderful, for the people don’t know about keyboard at all. Probably it will. Maybe. Possibly.
Because I have never write Doujinshi before. I’m wondering if I can meet the deadline.
◎貴サークル「たまもち屋」は、金曜日 東地区“ヤ”ブロック-29a に配置されました。
はーーーーーー!!!うかったーー!!!!ありがとうございます!ありがとうございます!!!新刊がんばるるる!! pic.twitter.com/Mjq3tP6x0s
— たまもちこ@金曜日ヤ-29a (@tama_mochi_ya) 2017年11月2日
That’s all of announcement! Thank you!
Ground up DIY keyboard “INSS40” progress.
Now I’m trying to build my own keyboard from ground up without any previous knowledge. I have to study about electronic, soldering, Arduino, 3D Printing for the case… It is very hard, takes a lot of time.
Meanwhile keyboard-masters builds their own keyboards continuously. I can make my own because they share the knowledge.
If I can build my own one, it means that ordinary person can build their own one. So I have to try my best!
The progress: Right part design is complete.
There is no physical object yet because it’s under the 3D printing right now at printing service. It means what I say below are hopes. I don’t know that it will work as I desired. 😉
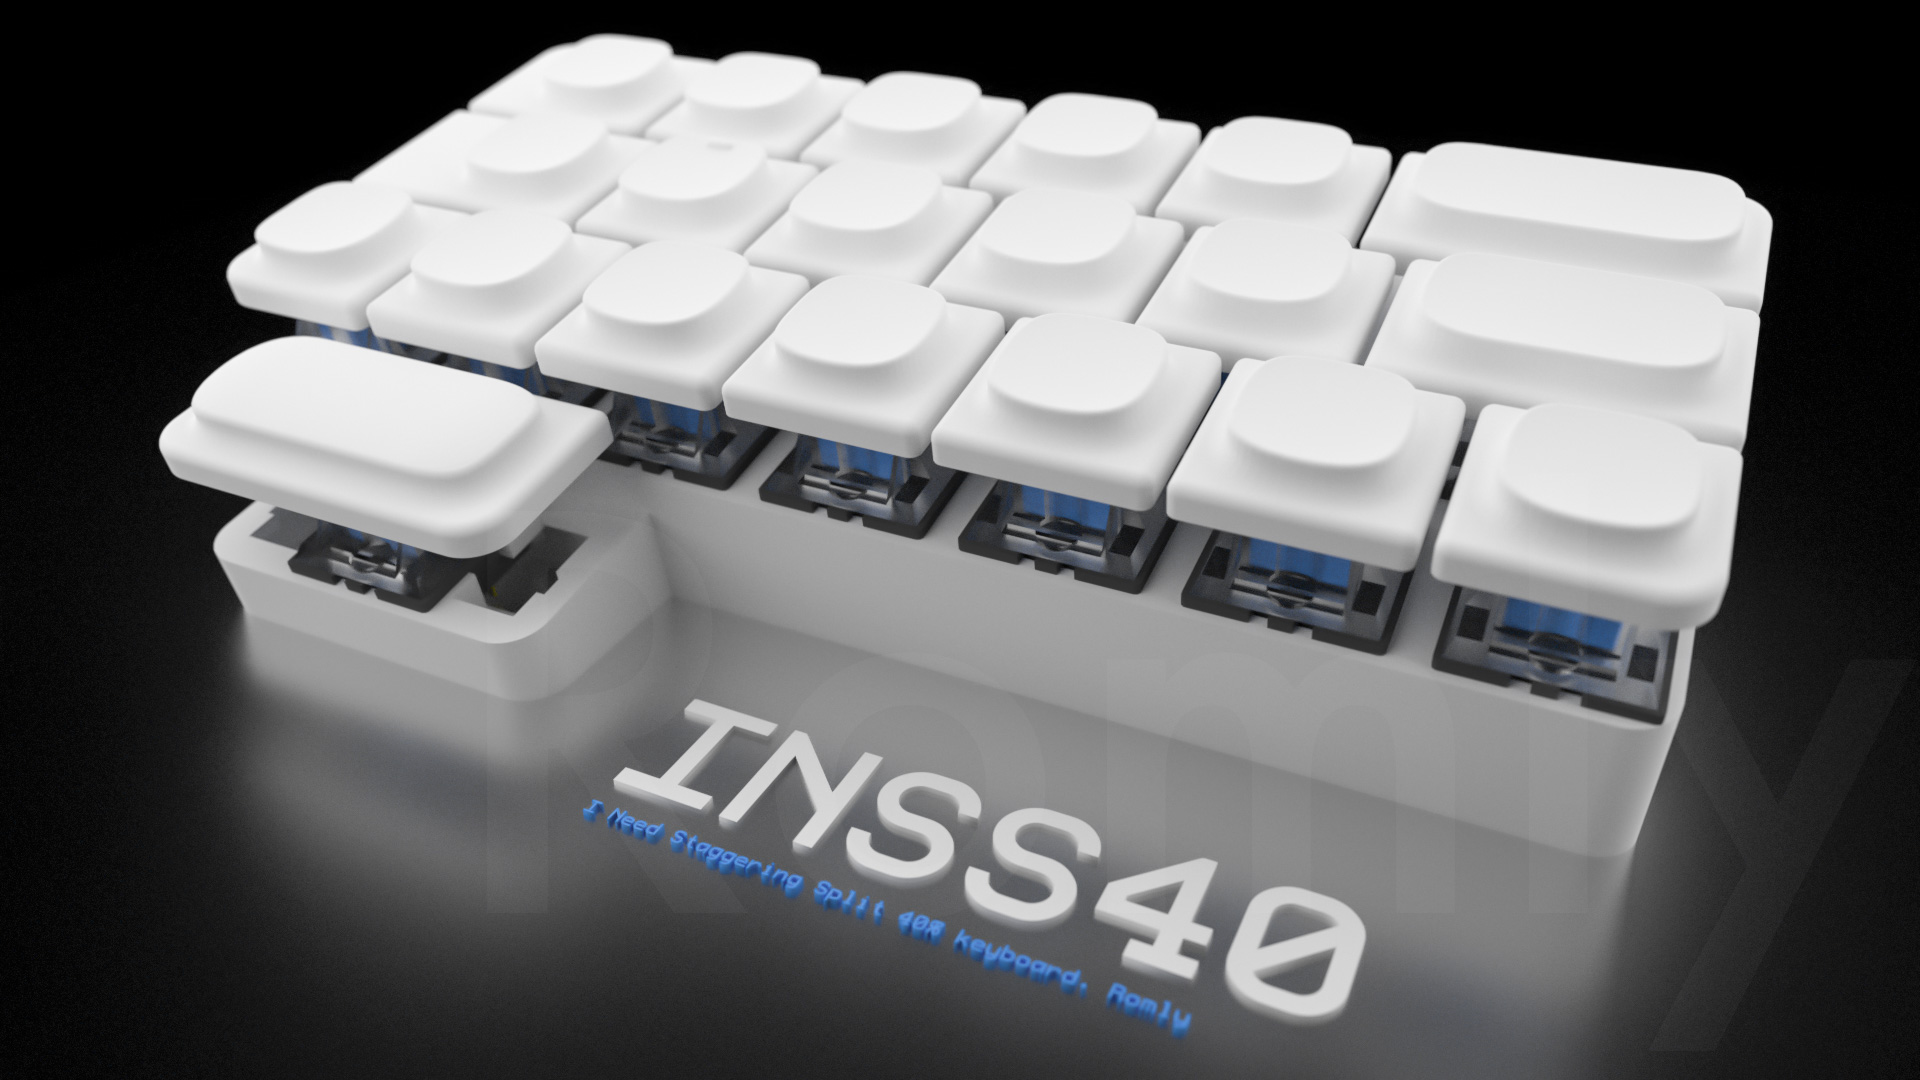
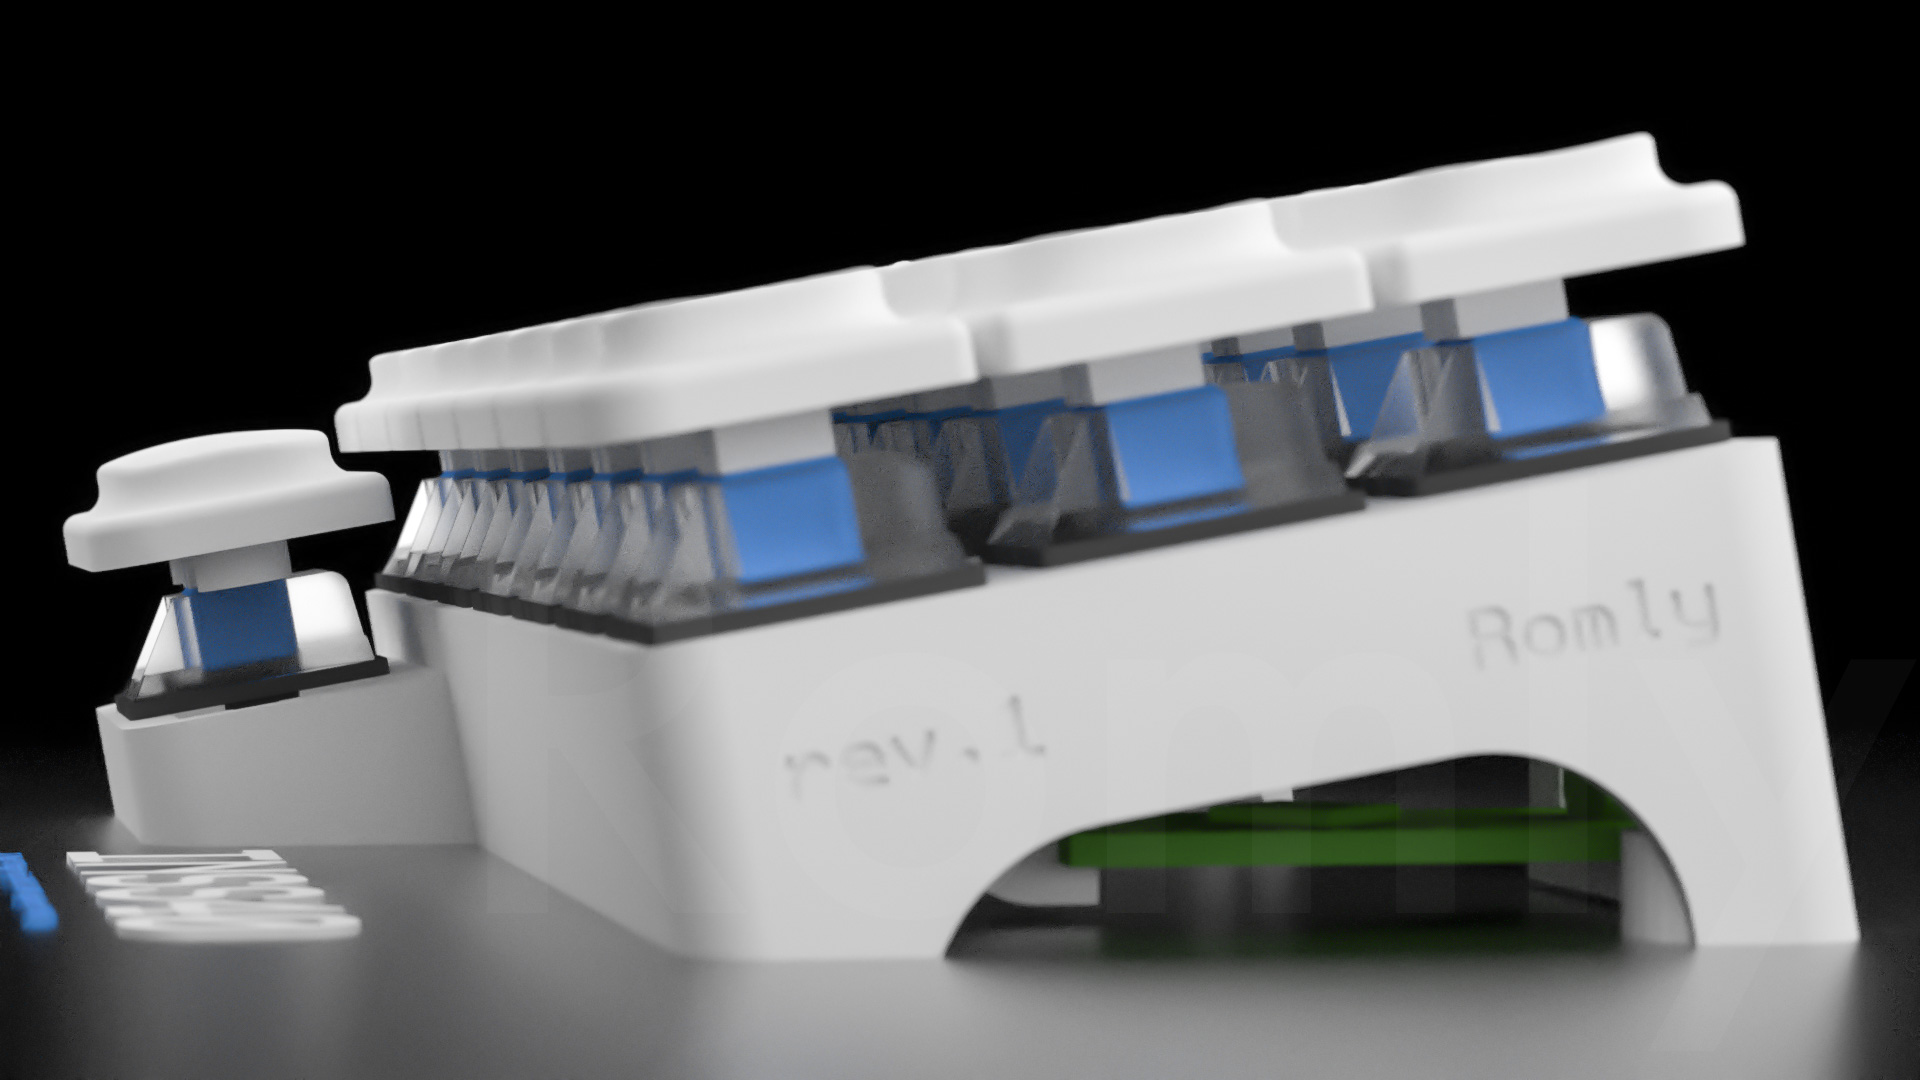
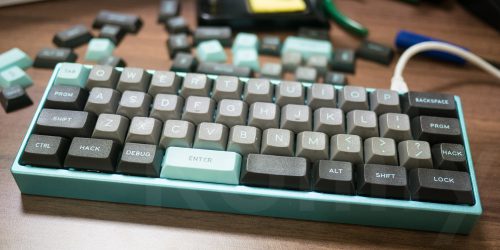
This is “INSS40” keyboard design, right part. INSS40 is 40% keyboard, has 4 rows. But I think I don’t use bottom row keys much. I decided to remove these but thumb key.
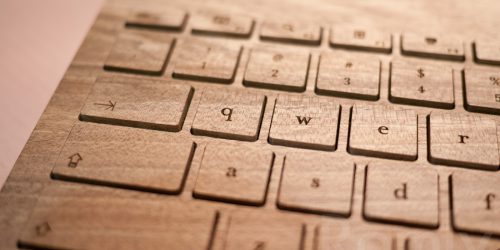
I also designed keycaps. There is many people who building their own keyboard. However, there is few people who builds keyboard with keycaps. I think!
I came up with four ideas, DSA-like shape, low-height version, flat top, and more fancy shape. I decided to go with fancy one. It is inspired by old calculator buttons like VFD calculators.
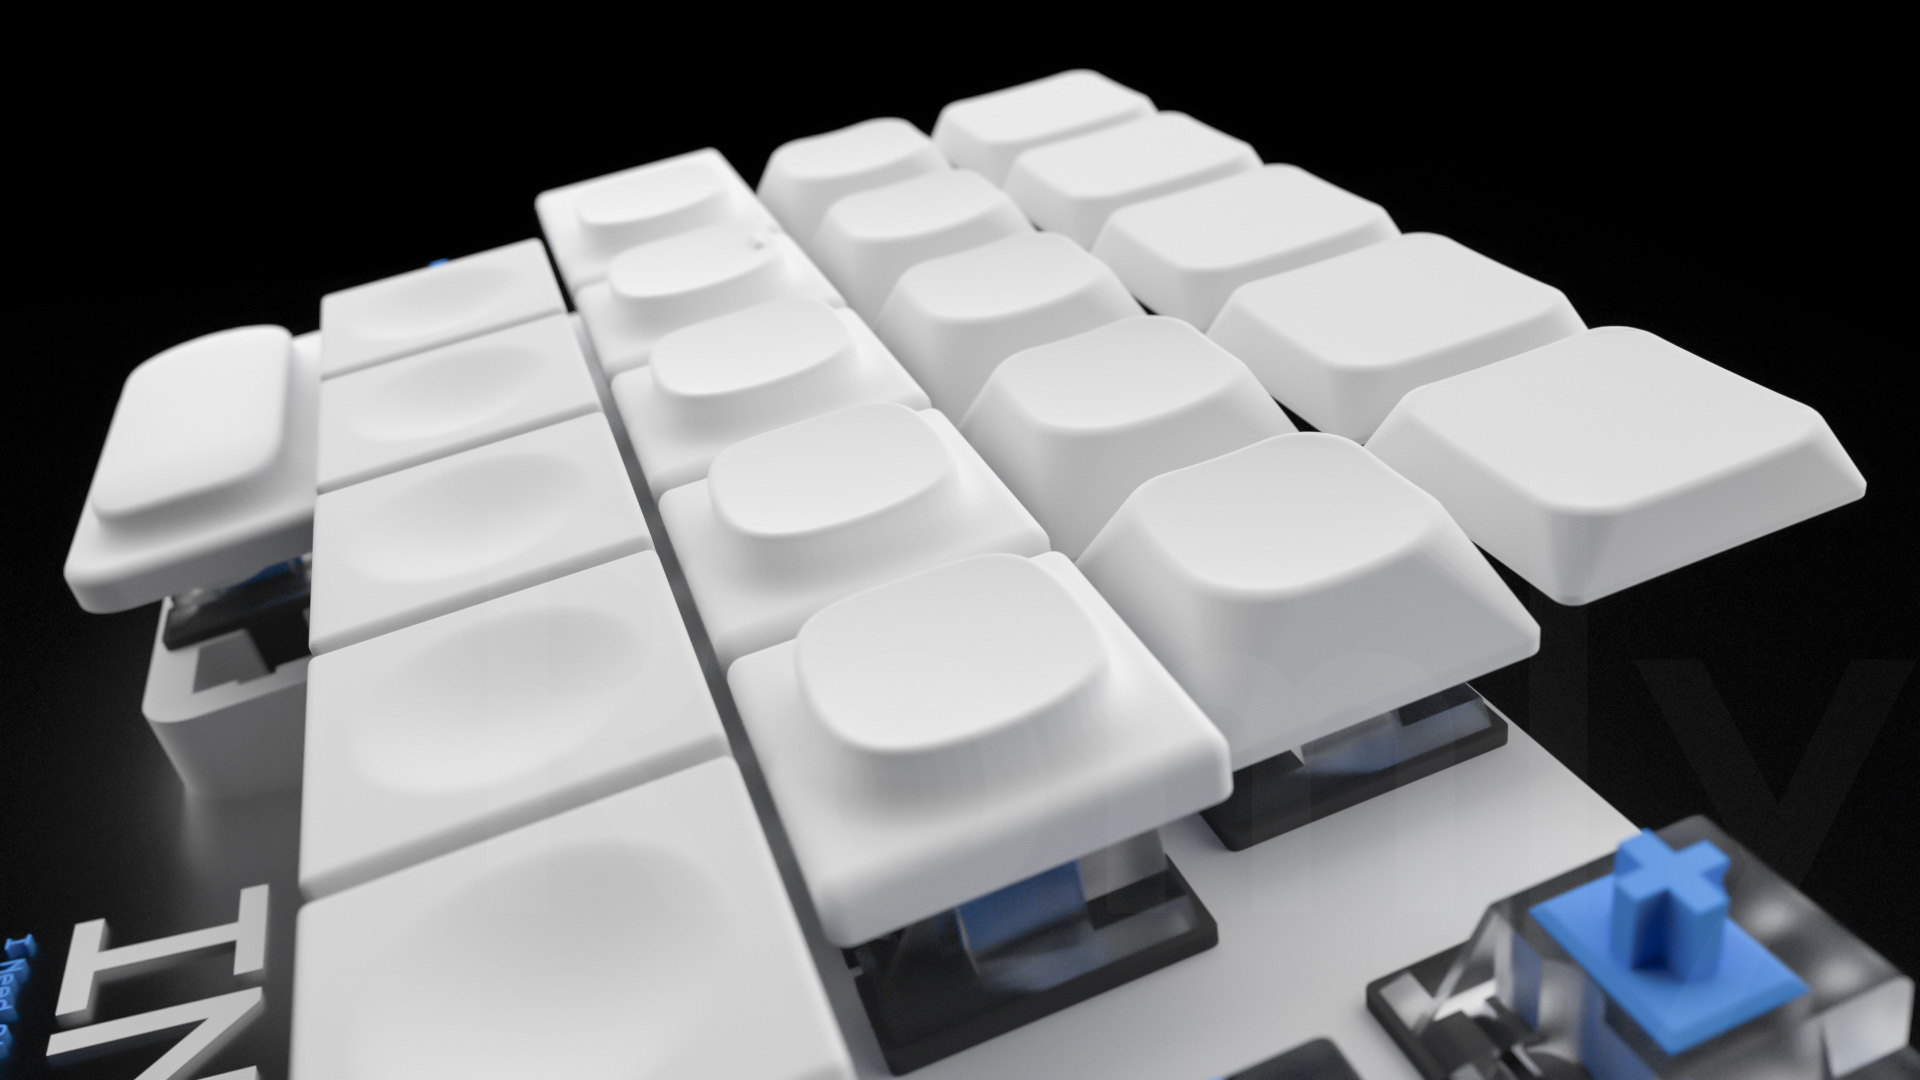
These are spherical top keycap. It will touch to fingers directly. I made keys as smooth as possible.
For thumb key, it has convex unlike other keys. Space key has convex, right?
By the way keys on the corner has large curve to fit case shape. I love this kind of small detail even it does not affect typing.
Typical split keyboard is separated with no duplicate keys. Like MISTEL MD600, Kinesis Freestyle. But I have the habit of typing B with right thumb. So I want to put B on both part. It is fun part of building my own keyboard, no need to follow touch typing textbook.
I want straight edge even INSS40 has staggering layout. I make asymmetrical keycaps in order to achieve this. In this way I can use normal single size keycaps too.
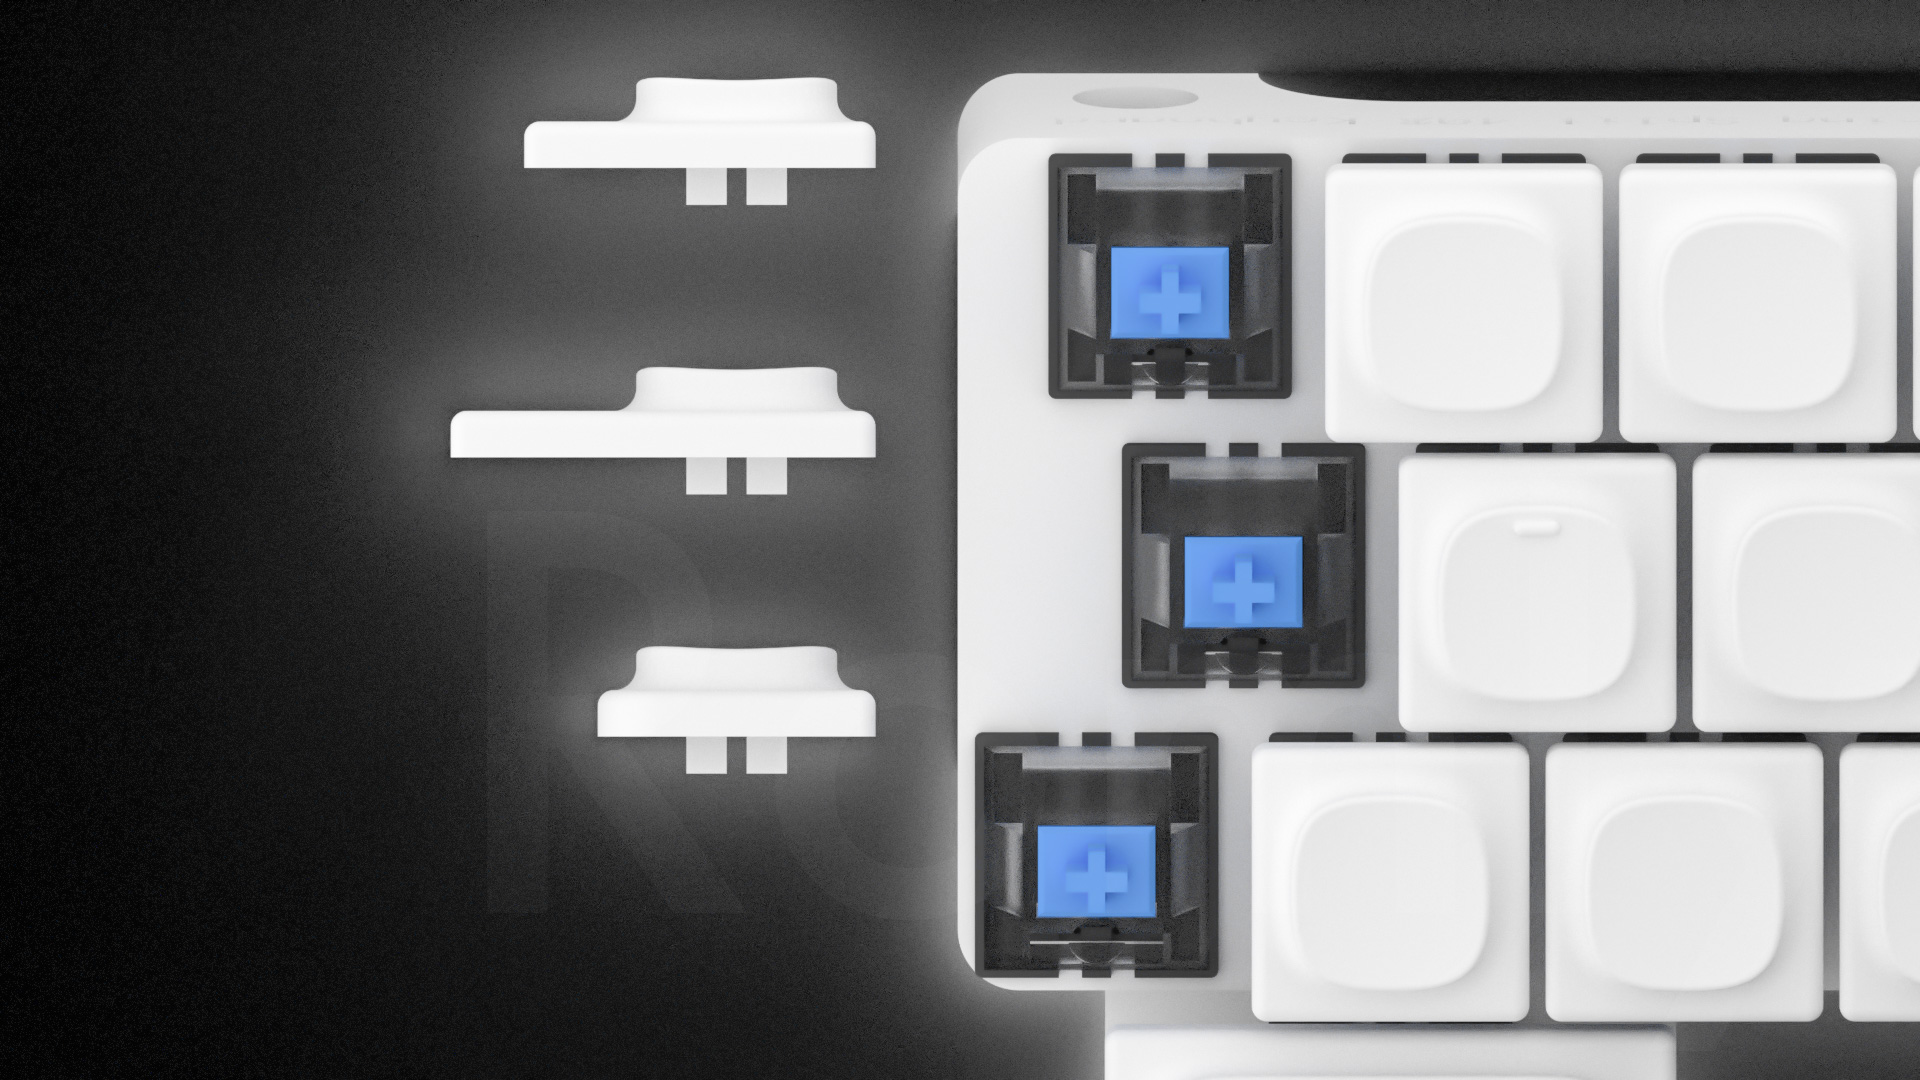
I think I don’t like touching homing bars while typing. Just I move it to near the top edge. In this place it doesn’t bother typing, still fingertips can find it.
Thumb key is lower than the others. It so close between key switch bottom to the ground.
INSS40 has slope. I think it is better to having slope after using flat keyboard like Planck, Vortex CORE.

I put stabilizer hole for thumb key. I’m worried about 3D printing gets brittle since these area has very thin structure. I don’t know this is the correct stabilizer hole anyway.
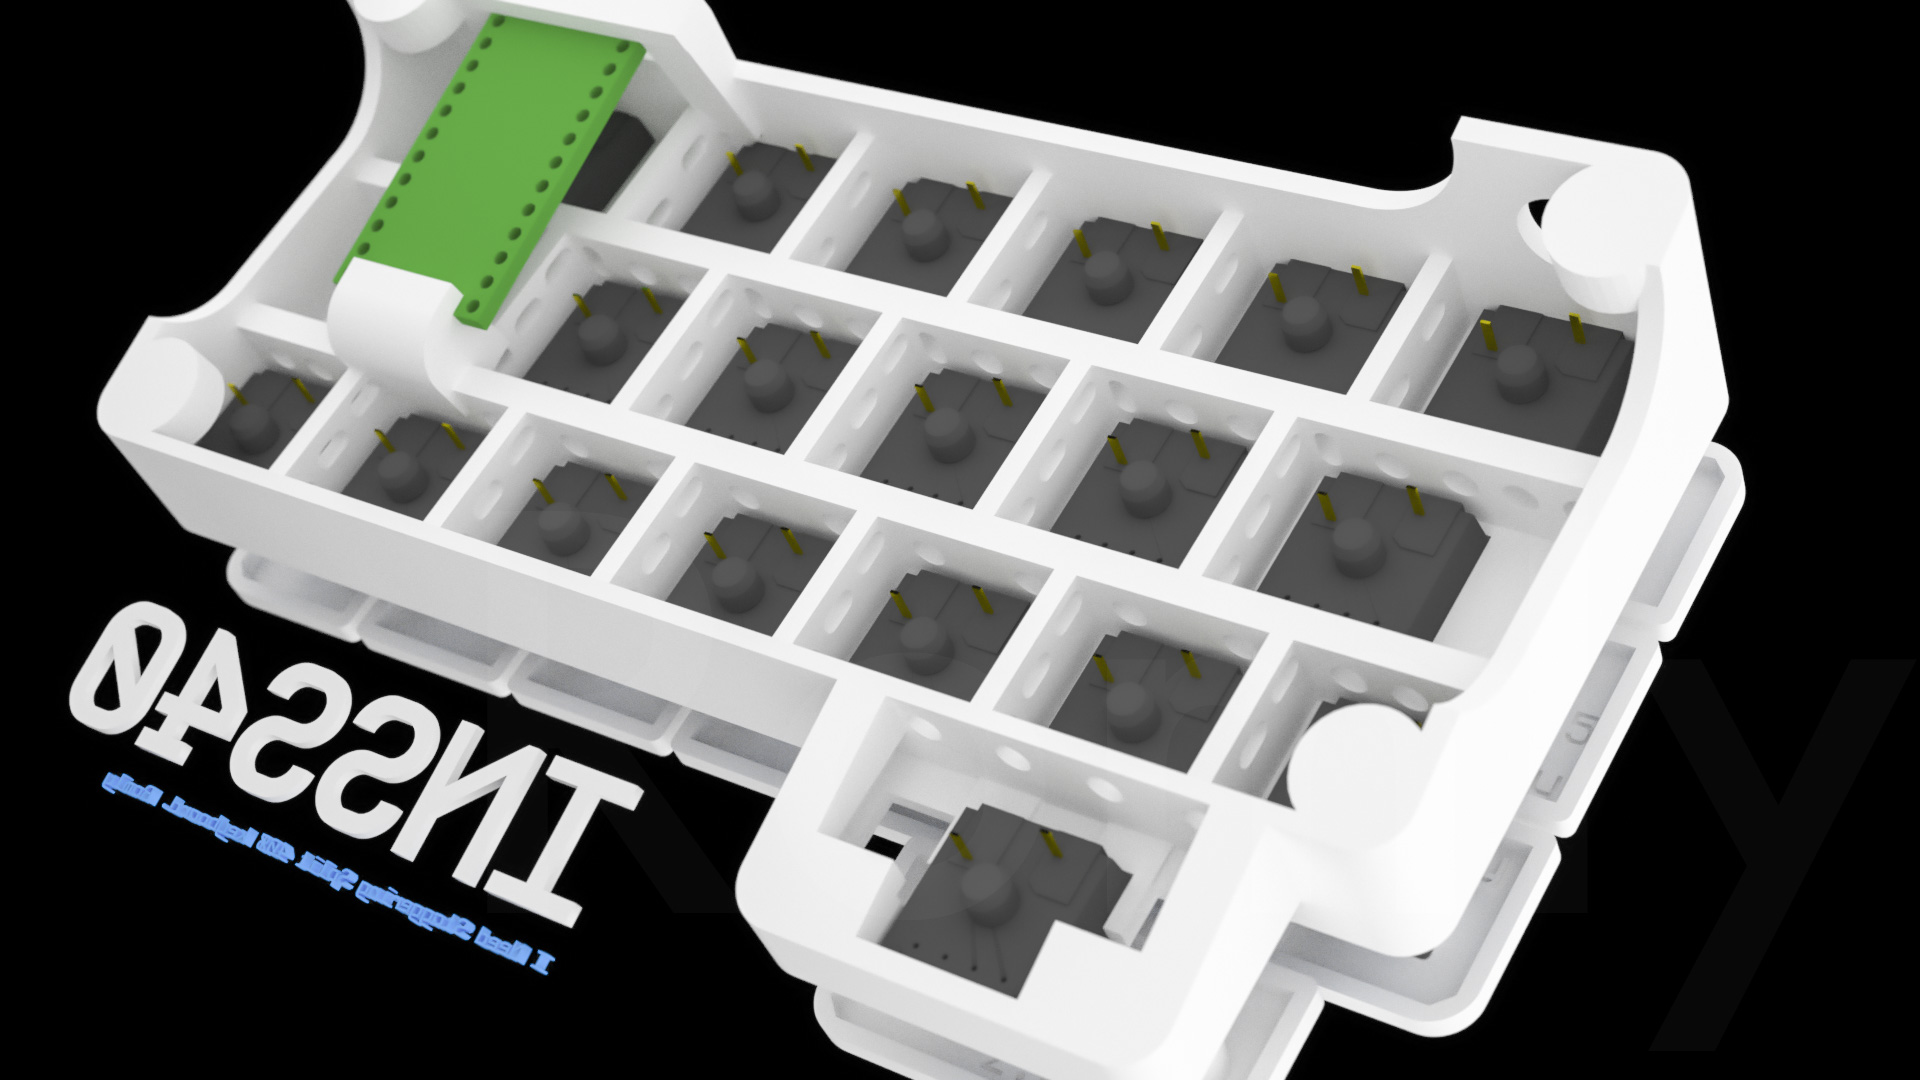
I am going to use Nylon for 3D printing material. It’s called Strong and Flexible at Shapeways. I think It is better to put bones to avoid bending. And bones has many holes. I hope these holes helps wiring.
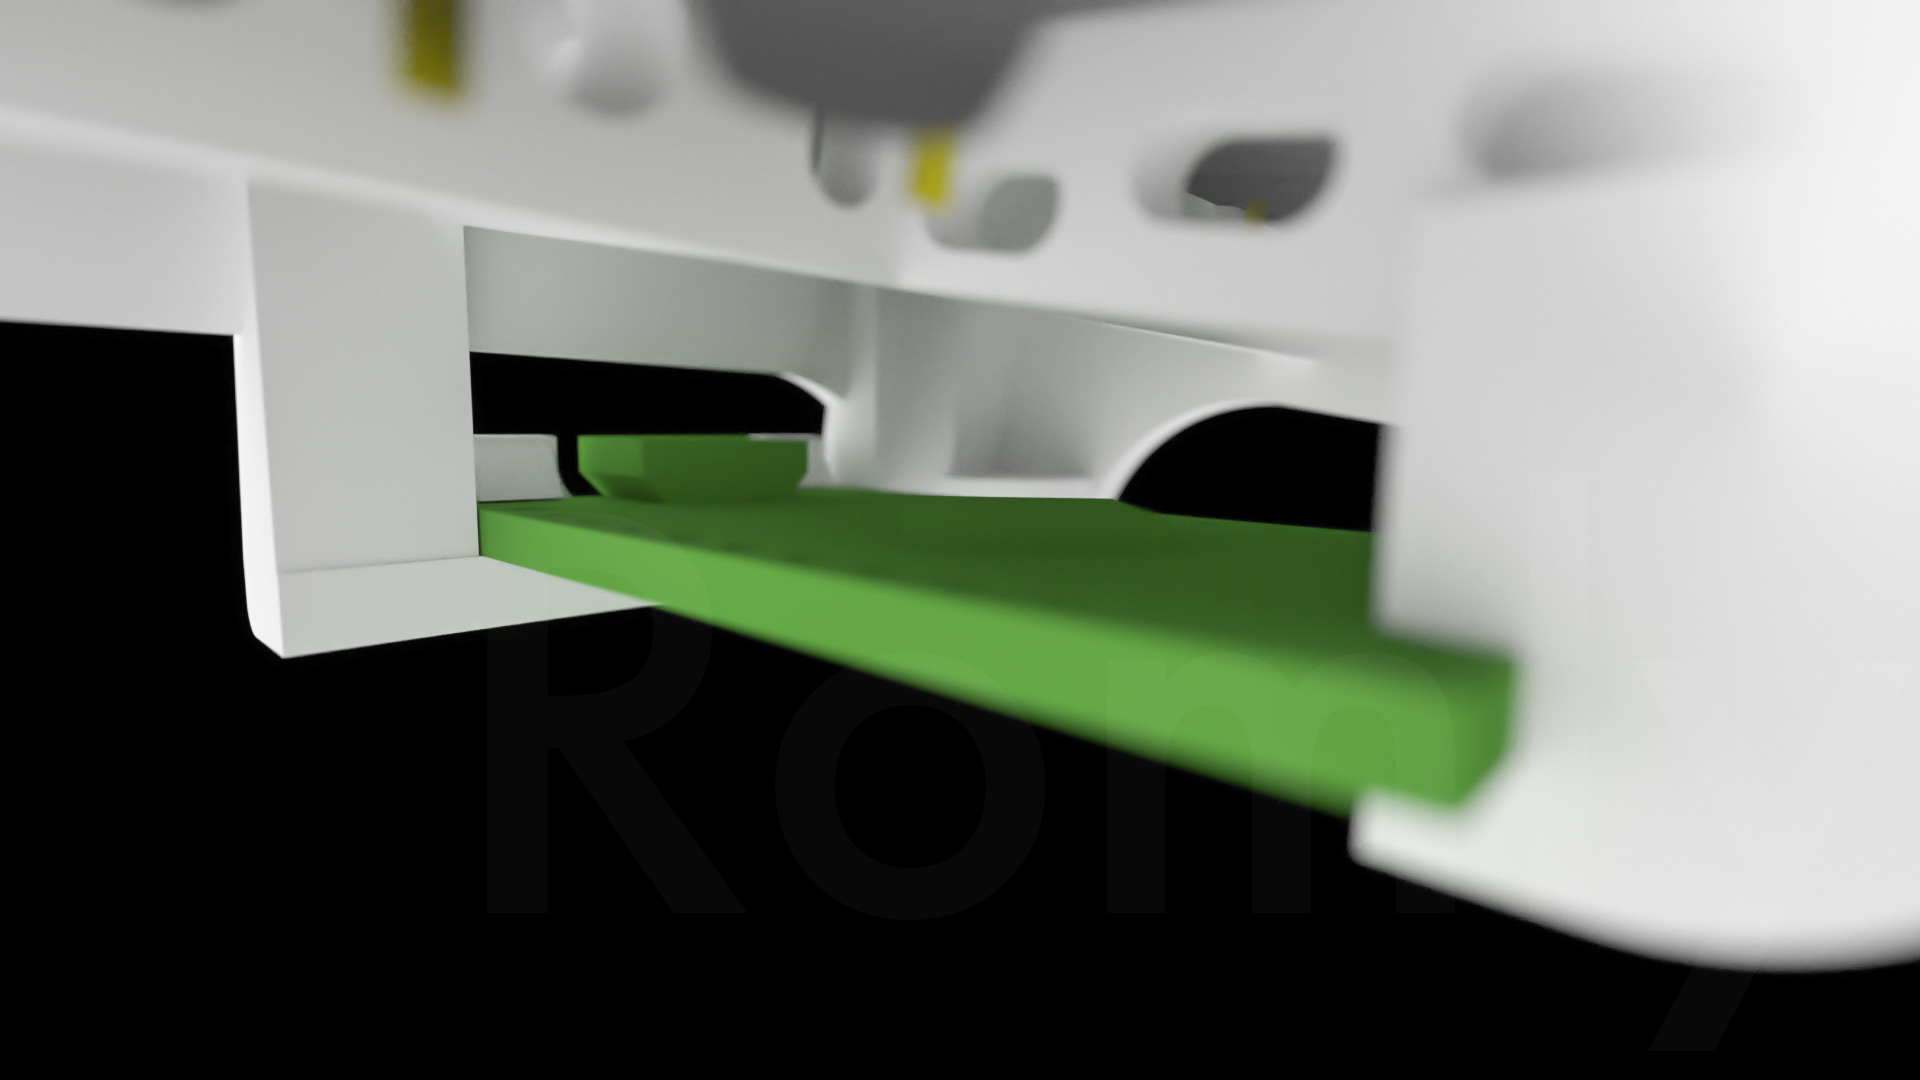
I need place for the Pro Micro. INSS40 has Double-decker style structure to avoid increase case size.
How to hold Pro Micro? Use screws? Simply I made tiny claws. Nylon is flexible material, allows snap-fit structure like this. I think…
3D printing are just virtual modeling data unless print out models. I always feel nervous before getting physical model…
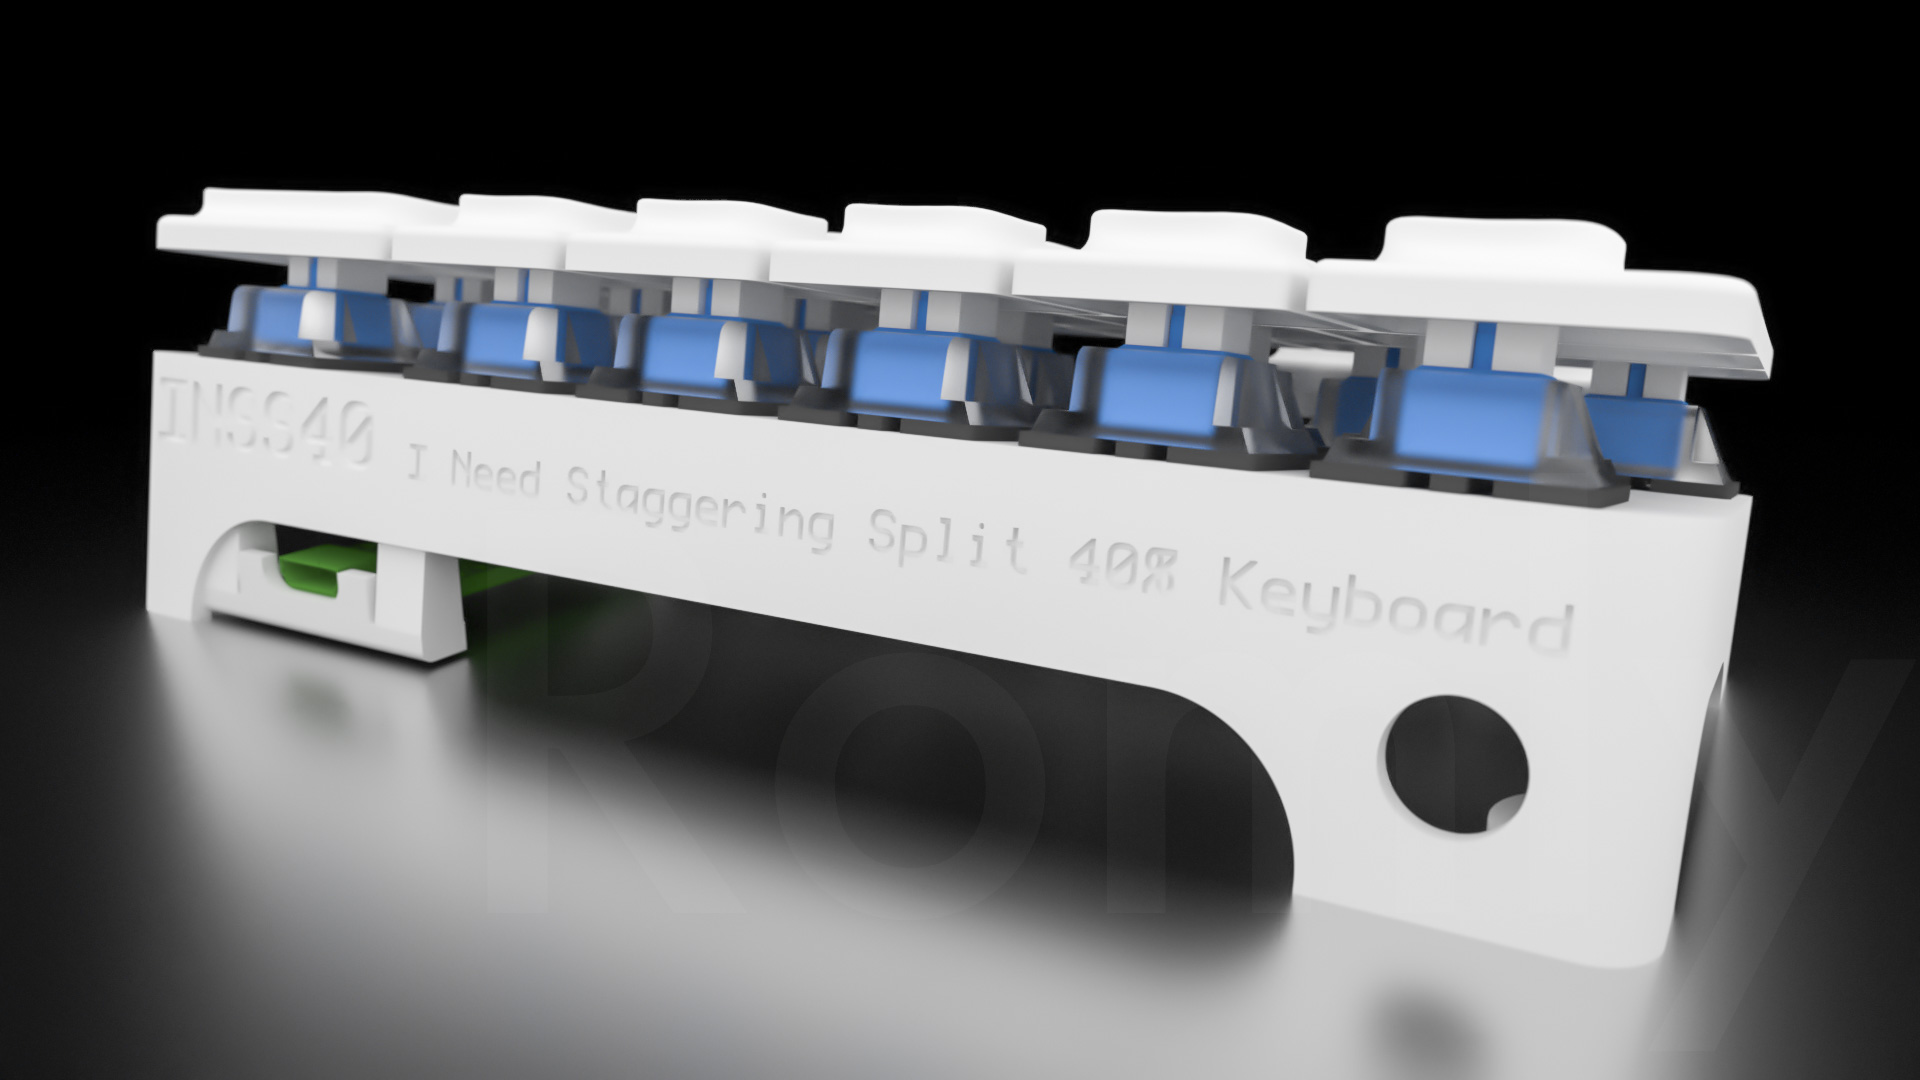
Back side of the case, I put name of the keyboard and a message origin of the name. The hole is for stereo jack. I might need 3.5mm cable (4 pole) to connect left part and right part of keyboard. So far I have no intention to connect both parts. Importantly, I don’t know how to do that! I’m going to connect each part to the PC as individual keyboards.
So, this is my own keyboard INSS40‘s design. Size adjustment between keycaps and case, solving confliction of each parts, securing strength of structure, etcetera… I had to adjust over and over again. I hope the efforts will pay off. I can not wait for 3D print to arrive.
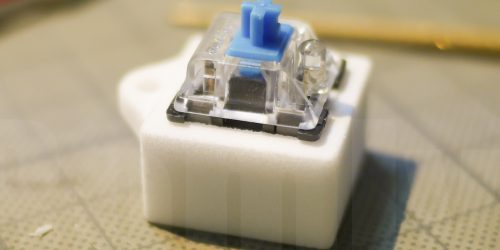
By the way I made 3D model of a key switch as a guide. Cherry MX, Gateron, Kailh… each maker has slightly different shape. Interesting.
Next, I have to do wiring on 3D print arrival. Looks like difficult for me…
Thank you for reading the post to the end! Even it has terrible English. I used 40% keyboard MiniVan with Gateron blue switches for writing this post. Clicky-Clicky!
Tomorrow, Jisaku-Keyboard Advent Calendar day 6 will be post by @yohewi-san.

3件のフィードバック